

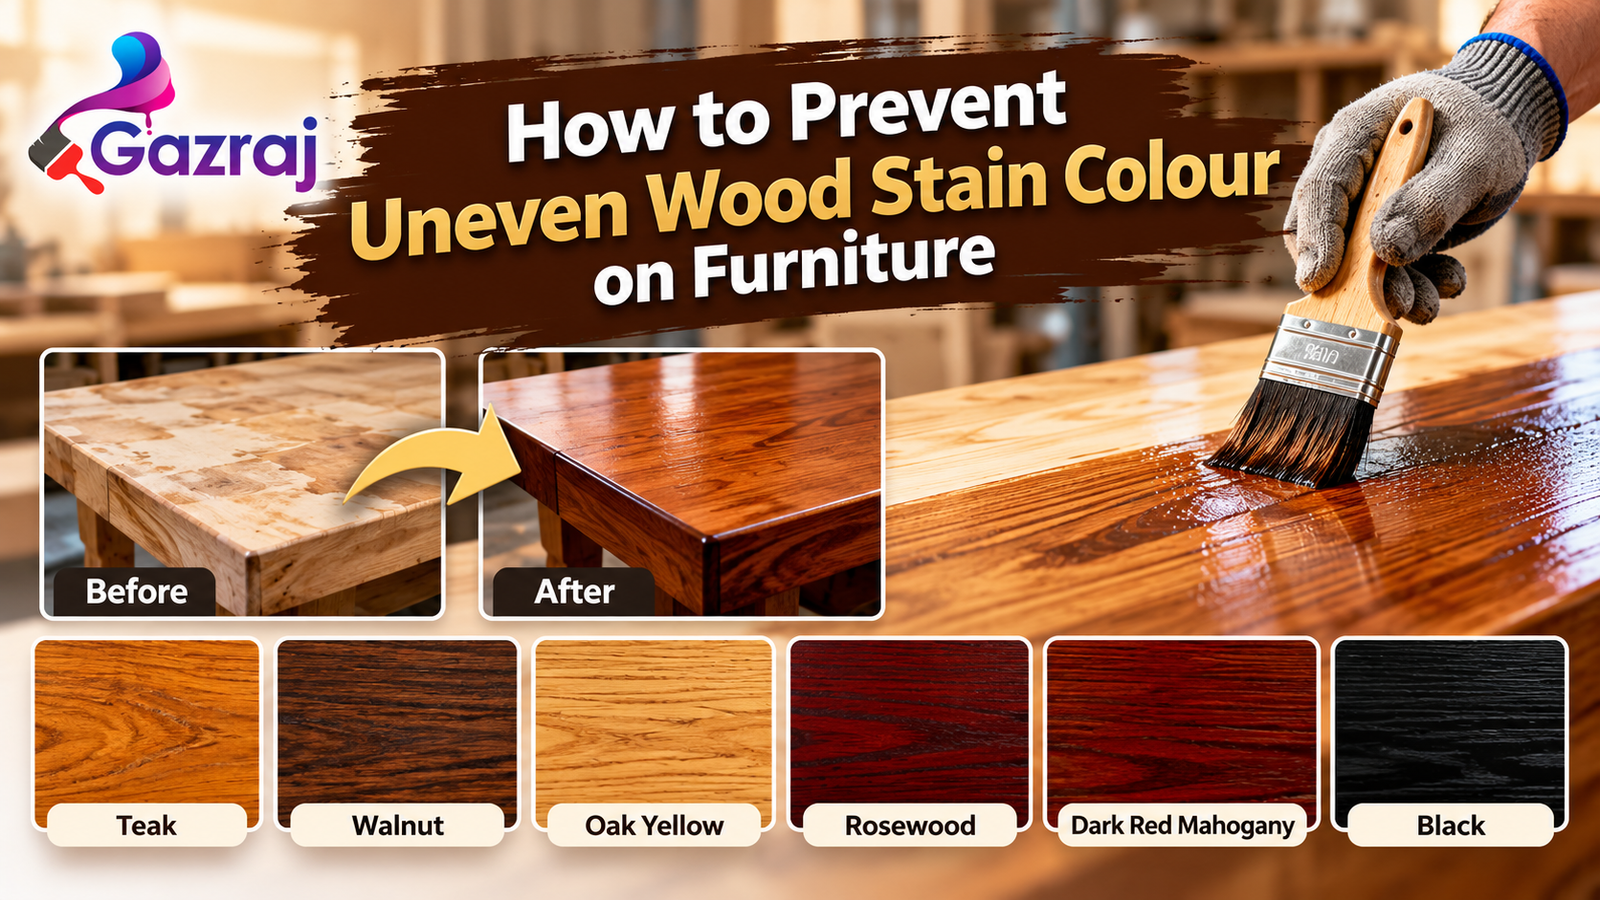
Wood stain can transform ordinary wooden furniture into an attractive, premium-looking piece. However, achieving a consistent colour across a furniture surface is not always easy. Dark patches, light spots, visible streaks and uneven shades can affect the final appearance, especially when finishing wardrobes, cabinets, tables, doors and other wooden furniture.
Uneven wood stain colour is a common challenge for carpenters, furniture manufacturers and wood finishing professionals. The good news is that proper surface preparation, suitable stain selection and a consistent application process can help reduce these problems.
In this guide, we explain the common causes of uneven wood stain colour and practical ways to achieve a smoother, more consistent furniture finish.
What Causes Uneven Wood Stain Colour?
Before trying to correct an uneven finish, it is important to understand why it happens. Wood is a natural material, and different areas of the same board may absorb stain differently.
1. Uneven Wood Absorption
Some wood species absorb stain more evenly than others. Softwoods and certain porous woods can develop darker patches because different areas absorb more colour than others.
Even when the same stain is applied across a surface, the final colour may vary according to the wood’s natural grain, density and porosity.
How to prevent it: Identify the wood species before staining. Test the chosen stain on a sample piece and consider a compatible pre-stain conditioner or other recommended preparation method when appropriate.
2. Incorrect Sanding
Sanding has a direct impact on how wood accepts stain. If one section is sanded more thoroughly than another, the surface may absorb colour differently. Deep scratches can also become more visible after staining.
How to prevent it:
- Sand the entire surface consistently.
- Follow a suitable progression of sandpaper grits.
- Finish sanding in the direction of the wood grain.
- Remove sanding dust before applying the stain.
The correct final grit depends on the wood species and the product manufacturer’s instructions.
3. Dust, Glue and Surface Contamination
Dust, glue residue, grease and other contaminants can prevent stain from penetrating the wood evenly. Glue marks are particularly problematic because they may appear as lighter patches after staining.
How to prevent it: Inspect the surface under good lighting before staining. Remove dust thoroughly and make sure glue residue is eliminated without damaging the surrounding wood. If the surface has an old coating, prepare it according to the recommended refinishing procedure.
4. Inconsistent Stain Application
Applying too much stain in one area and too little in another can create visible colour differences. Uneven wiping, overlapping marks and allowing the stain to dry before excess material is removed may also affect the result.
How to prevent it: Follow the product instructions, work in manageable sections and maintain a consistent application technique. Where the product requires wiping, use a clean cloth and remove excess stain evenly.
Step-by-Step Process for an Even Wood Stain Finish
A repeatable finishing process is especially useful for furniture workshops producing multiple pieces or matching furniture sets.
Step 1: Identify the Wood Type
Determine whether the furniture is made from solid wood, veneer or another material. Different surfaces may require different preparation and finishing methods. Do not assume that every surface will accept stain in the same way.
Step 2: Prepare the Surface
Remove any existing finish when necessary and prepare the surface using a suitable sanding sequence. Repair holes and imperfections before staining, using a compatible filler where required.
Allow repairs to dry fully and sand them level. Keep in mind that some fillers absorb stain differently from natural wood, so testing is important.
Step 3: Clean and Inspect
Remove all sanding dust and inspect the surface for glue marks, scratches and uneven areas. These defects may become more noticeable once the stain adds colour to the wood grain.
Step 4: Test the Stain Colour
Never rely only on the colour shown on a product label or screen. The final shade can vary depending on the wood species, surface preparation, application method and subsequent finish.
Prepare a sample using the same wood, sanding process and stain application method planned for the furniture. Allow it to dry as directed and evaluate the colour under the lighting in which the furniture will be used.
Step 5: Apply the Stain Consistently
Use the application method recommended for the selected product. Apply the stain evenly and avoid leaving excess material on the surface. Follow the specified wiping, drying and recoating instructions.
For larger furniture pieces, working in a planned sequence can help prevent visible overlaps and inconsistent colour.
Step 6: Allow Proper Drying
Do not rush the drying process. Temperature, humidity, ventilation, the coating system and the amount applied can influence drying time.
Before applying a sealer or topcoat, confirm that the stain is sufficiently dry and compatible with the next product. Follow the manufacturer’s instructions for the complete finishing system.
How to Fix Uneven Wood Stain Colour
If the stain has already dried unevenly, the right solution depends on the cause and the type of stain used.
For minor colour differences: If the product instructions allow it, a carefully controlled additional application may help blend the colour. Test the approach on an inconspicuous area first.
For glue marks or contamination: The affected area may need to be stripped or sanded back before proper surface preparation and staining can be repeated.
For severe blotching: A more extensive refinishing process may be necessary. This can involve removing the existing stain, preparing the bare wood again and selecting a suitable conditioning or staining method.
Avoid applying additional coats blindly. More stain does not always produce a more uniform result and can make some areas darker than others.
Choosing the Right Wood Stain for Furniture
The right wood stain should match the intended colour, wood type, application process and final appearance.
Popular furniture shades include:
- Teak: Often chosen for warm, natural-looking furniture finishes.
- Walnut: Suitable for rich brown tones.
- Oak Yellow: Useful for lighter, golden wood appearances.
- Rosewood: Selected for deeper reddish-brown tones.
- Dark Red Mahogany: Used when a deeper red-brown appearance is desired.
- Black: Suitable for darker decorative finishes.
The actual result depends on the substrate and the product formulation. Always test the selected shade before finishing the complete furniture piece.
Furniture manufacturers can explore wood stain options from brands such as Gazraj and compare the available shades with their intended finishing requirements.
Best Practices for Furniture Manufacturers
For businesses producing furniture in batches, colour consistency requires more than selecting the correct stain.
Maintain a record of the wood type, sanding sequence, stain shade, application method and drying conditions used for approved samples. Use the same process for subsequent pieces and check the finish under consistent lighting.
When changing a stain product or supplier, conduct a new sample test instead of assuming that similarly named colours will produce identical results.
It is also important to train finishing staff to identify defects early. Correcting an issue before the topcoat is applied is generally easier than repairing a completed finish.
Frequently Asked Questions (FAQs)
1. Why does wood stain colour become uneven on furniture?
Wood stain colour can become uneven because of inconsistent sanding, different wood absorption rates, glue residue, surface contamination or uneven stain application. Proper preparation and sample testing can help reduce these problems.
2. How can I prevent blotchy wood stain on furniture?
To prevent blotchy wood stain, prepare the surface evenly, remove sanding dust, check for glue marks and test the stain on a sample piece. For woods that absorb stain unevenly, consider a compatible pre-stain conditioner if recommended for the selected product.
3. Which wood stain colour is best for furniture?
The best wood stain colour depends on the furniture style, wood species and desired appearance. Teak offers warm tones, Walnut creates a rich brown appearance, Oak Yellow gives a lighter golden look, and Mahogany provides deeper reddish-brown tones.
4. Can I apply another coat to fix uneven wood stain?
An additional coat may help correct minor colour differences in some staining systems, but it can also make dark patches worse. Check the product instructions and test the method on an inconspicuous area before applying another coat.
5. Should I sand wood before applying wood stain?
Yes, bare wood generally needs appropriate sanding before staining. Sanding helps create a more consistent surface, but the correct grit depends on the wood type and the stain manufacturer’s recommendations.
6. How long should wood stain dry before applying a topcoat?
Drying time depends on the stain formulation, application thickness, temperature, humidity and ventilation. Follow the manufacturer’s specified drying time and confirm compatibility with the sealer or topcoat before proceeding.
7. Can wood stain be applied to veneer furniture?
Some wood veneers can be stained, provided the veneer and existing finish are suitable for the selected product. Veneers are thin, so aggressive sanding can damage them. Test a small area and follow the manufacturer’s instructions.
8. Which wood stain shades are commonly used for furniture?
Common furniture shades include Teak, Walnut, Oak Yellow, Rosewood, Dark Red Mahogany and Black. The final appearance can vary according to the wood surface, stain formulation and finishing process.
9. How can furniture manufacturers maintain consistent wood stain colour?
Furniture manufacturers can improve colour consistency by standardising surface preparation, sanding, stain application and drying conditions. Keeping approved colour samples and testing each new batch can also help maintain consistency.
10. Where can I explore wood stain colours for furniture?
You can explore the available shades and product information on the Gazraj website. Always check the product specifications and test the selected colour on the intended wood before finishing the entire furniture piece.
Conclusion
Preventing uneven wood stain colour begins with understanding the wood, preparing the surface correctly and applying the stain consistently. Dust removal, proper sanding, sample testing and following product-specific instructions can all contribute to a more attractive and reliable finish.
For furniture manufacturers, a documented finishing process can reduce rework, improve consistency and help achieve the desired colour across multiple furniture pieces.
Whether you are finishing a single table or producing furniture at scale, taking time to test and prepare the surface can make a significant difference to the final result.